
Jai Club Account Verification: How to Complete Identity Checks
Account verification on Jai Club unlocks higher withdrawal limits and confirms your identity on the platform. Learn what documents are needed and how to submit them correctly.
Why Account Verification Matters
Jai Club requires identity verification for members who want to increase their withdrawal limits or access certain platform features. Verification also protects your account — by confirming that you are the rightful owner, the platform makes it harder for anyone else to take control of your funds.
Unverified accounts can still register, explore sections, and make deposits. However, withdrawal amounts may be capped until verification is complete. Completing the process as early as possible means you will not face delays when you want to withdraw.
What You Need to Verify
The verification process on Jai Club asks for standard identity documents. Having these ready before you begin speeds up the process.
- A government-issued photo ID such as an Aadhaar card, PAN card, voter ID, or passport.
- A clear photograph of yourself holding the document (selfie with ID).
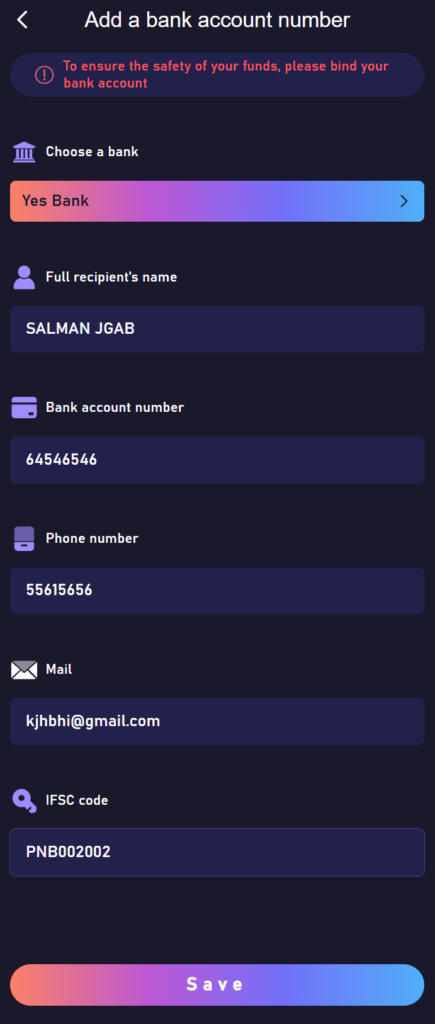
- Proof of your bank account details, such as a screenshot of your UPI ID or a bank statement header.
How to Submit Your Verification Documents
- Log in to your Jai Club account.
- Go to Account Settings or Profile.
- Look for the "Verification" or "KYC" section.
- Upload a clear photo of your government-issued ID.
- Upload your selfie-with-ID photo.
- Submit your bank account details as required.
- Tap "Submit" to send your documents for review.
How Long Does Verification Take?
Verification typically takes between a few hours and two business days. The review team checks that your documents are legible, match your account details, and are valid. You will receive a notification when verification is approved.
If your documents are rejected, the platform will tell you why. Common reasons include blurry images, expired documents, or a mismatch between document details and account details. You can resubmit with corrected documents.
Tips for a Smooth Verification
- Make sure all photos are clear and well-lit. Dark or blurry images are the most common reason for rejection.
- Ensure the text on your ID is fully readable and not cut off in the photo.
- Use the same name in your account profile as it appears on your government ID.
- Take your selfie-with-ID in good lighting and hold the document close to your face so both you and the document are clearly visible.